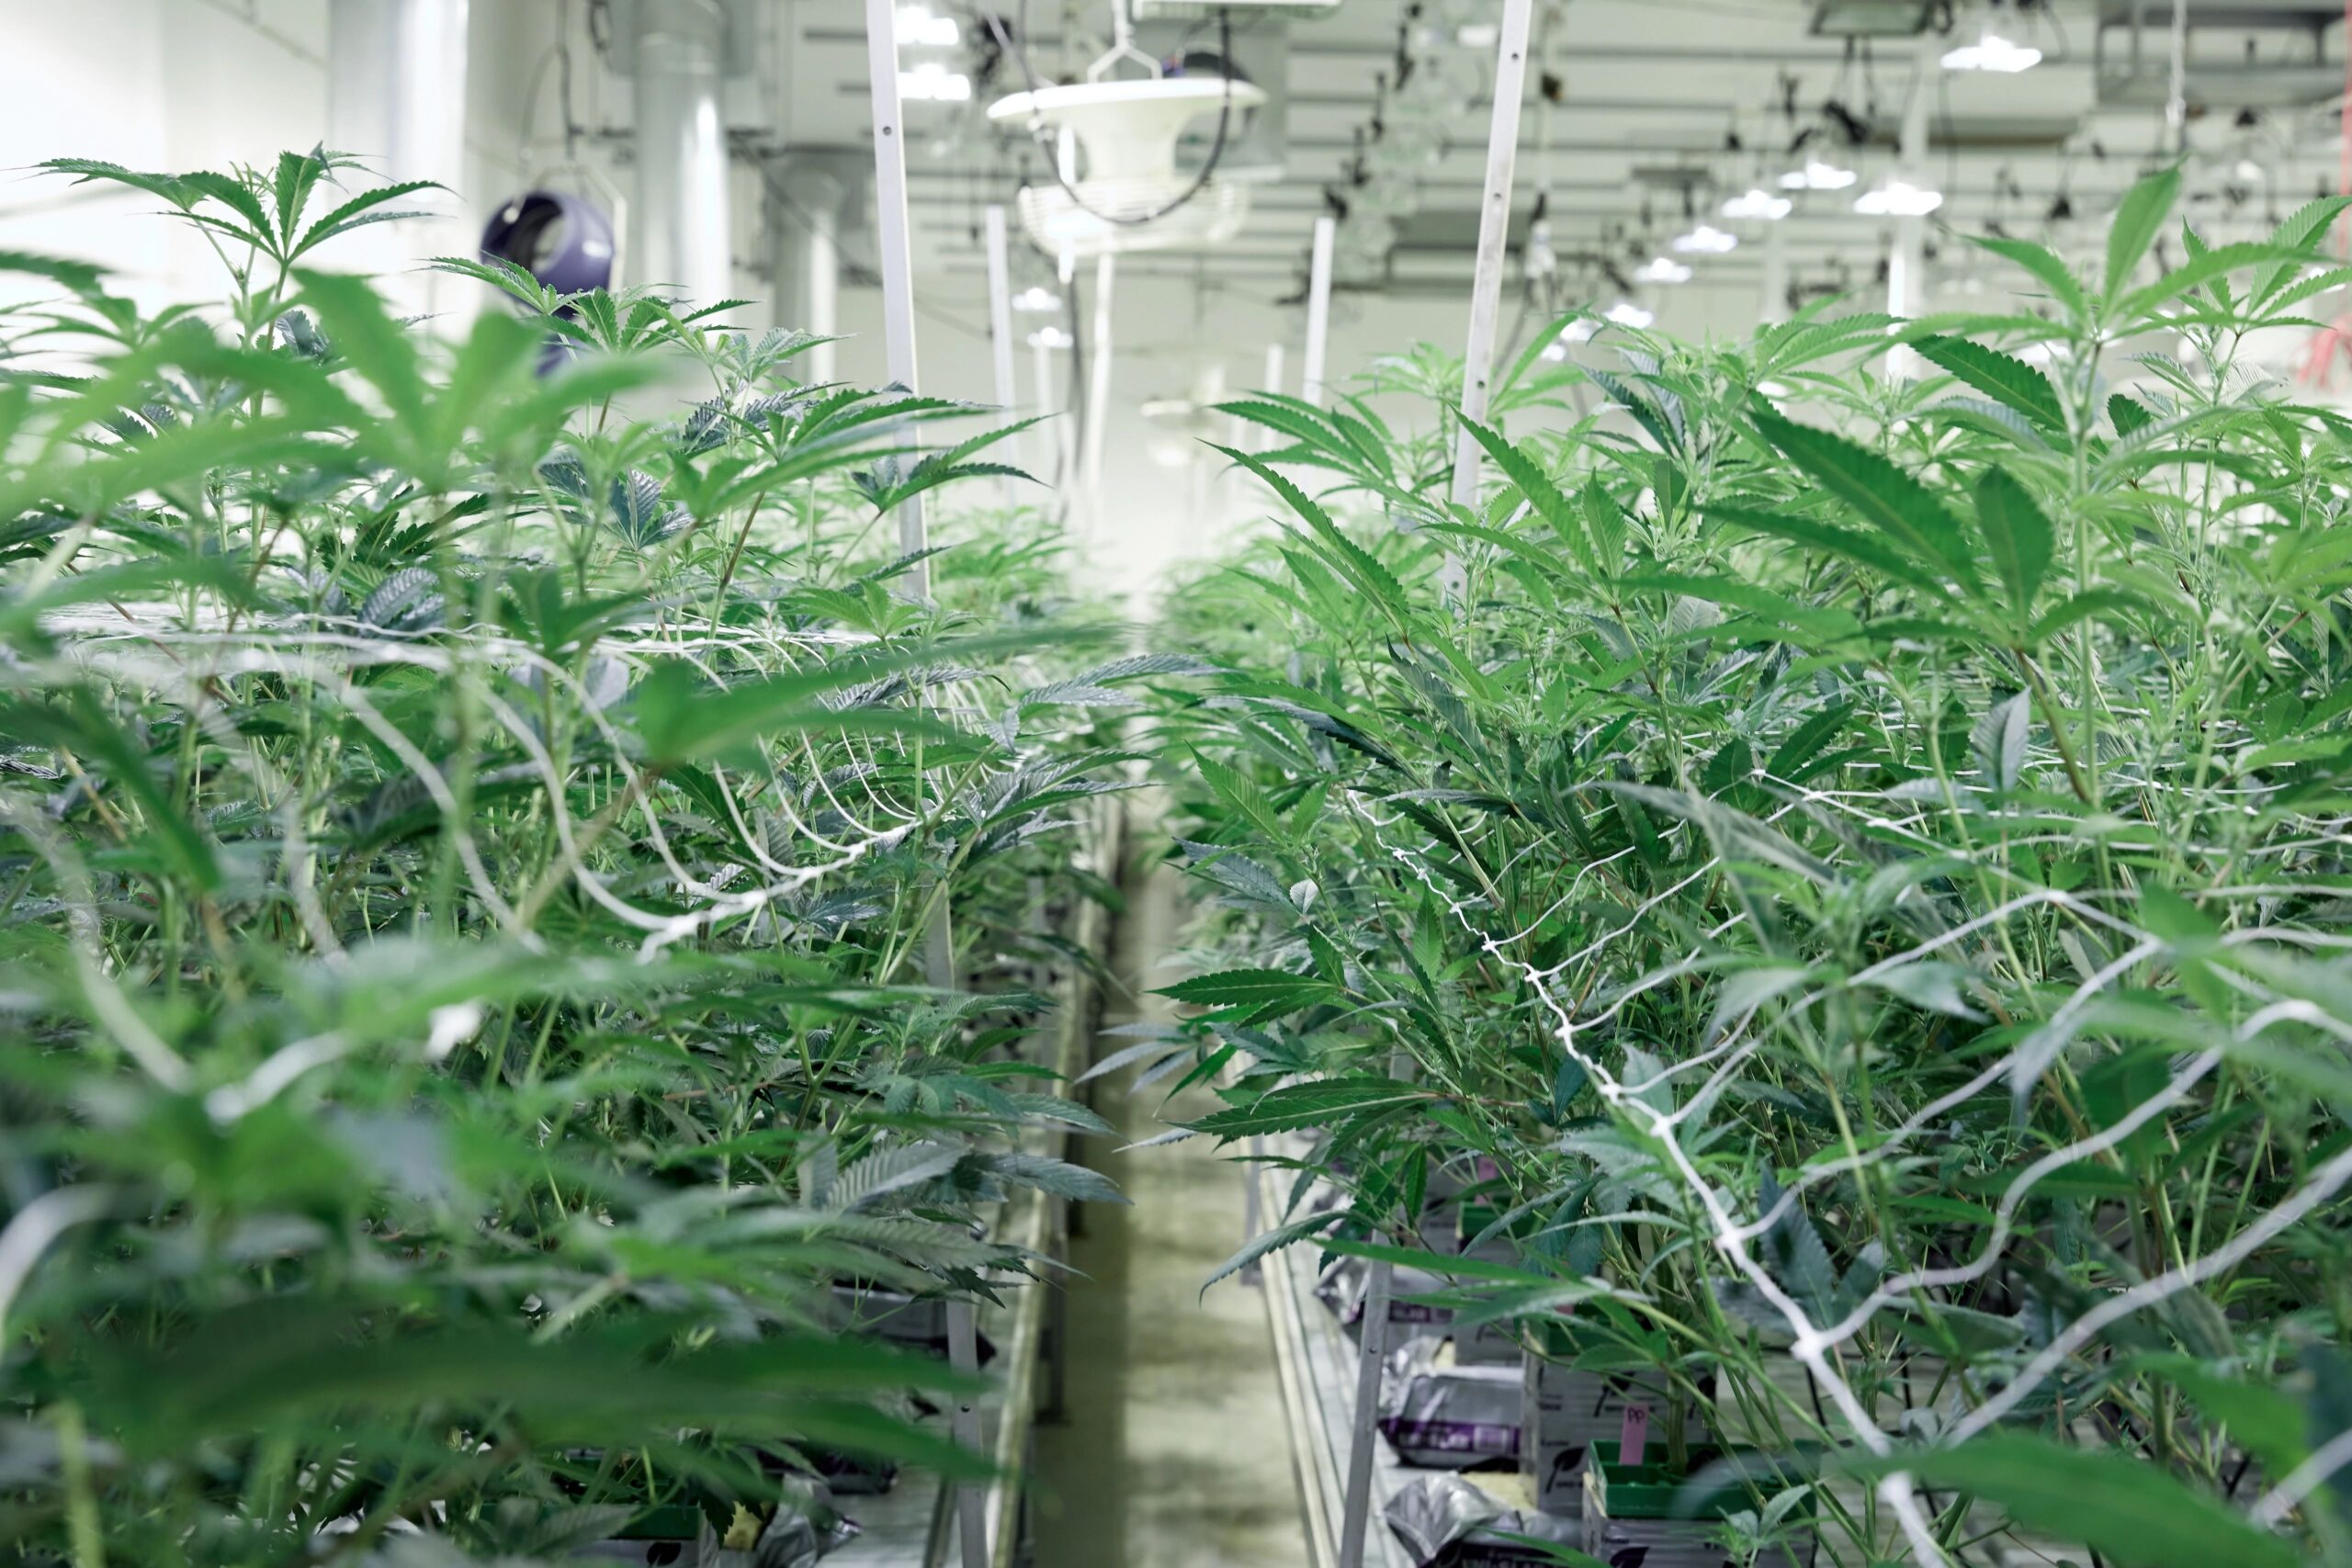
Indoor cannabis cultivation has long been popular since it can be done in any climate, any time of year, and you can control every variable of the grow environment. That said, your first indoor grow can be an intimidating project.
Below, learn everything from lighting set-ups to nutrient needs before growing weed indoors.
What to know before growing weed indoors
Whether you're a first-time cultivator or revisiting home cultivation after a hiatus, ask yourself these questions:
- Is it legal to grow cannabis where you live? In most local jurisdictions where cannabis is legal — medically or recreationally — some sort of home growing is typically allowed. Research your laws and regulations to understand if you can grow cannabis at home and, if so, how many plants you can legally grow.
- Do you own your property or live in a cultivation-friendly building? Even if growing weed is legal where you live, your landlord can prohibit you from growing weed on their property.
- How far away is your property from school zones and other private residencies? In most places where you can legally grow cannabis, the odor needs to be controlled and it must be grown out of public sight.
- Do you have enough open space to successfully grow? Different cultivars have different environmental and space requirements, but on average, each plant will need at least 9 square feet or about 1 square meter of space to thrive.
- Do you have the time and money to invest in your grow? Cannabis requires light, water, nutrients, ventilation, and other supplies to grow successfully. While costs vary widely, you can expect to spend anywhere from $200 to $700 or more for the initial setup to grow a single cannabis plant indoors.
Supplies needed for indoor cultivation
 Photo by: Gina Coleman/Weedmaps
Image lightbox

To grow cannabis indoors the traditional way with soil and pots, you'll need the following items:
- Cannabis seeds or clones: Seeds require more time to get started, while clones tend to be more expensive. Choose a strain that suits your needs and preferences.
- Soil: Choose a high-quality, well-draining potting mix designed for cannabis plants or a mix of peat moss, coco coir, perlite, and organic compost.
- Pots: Use fabric or plastic pots with drainage holes, sized according to the desired mature plant size (3 – 5 gallons for most plants, 7 – 10 gallons for larger plants). If you're starting with seeds, you'll also need small pots or seedling trays.
- Saucers or trays: These catch excess water and protect the surface under the pots.
- Grow lights: Popular options include LED, HID (High-Intensity Discharge), or CFL (Compact Fluorescent Light) grow lights.
- Light timer: Timers automate the light schedule and ensure consistent day/night cycles for your plants.
- Grow tent or designated grow space: You'll need a controlled environment to maintain temperature, humidity, and light exposure.
- Ventilation system: An exhaust fan and ducting maintain proper airflow and a carbon filter controls odors.
- Oscillating fan: Fans circulate air and strengthen plant stems.
- Thermometer and hygrometer: Use these tools to monitor temperature and humidity levels in the grow space.
- Nutrients: A balanced nutrient solution or slow-release fertilizer specifically formulated for cannabis plants is ideal.
- pH meter or test kit: You'll need to monitor and adjust the pH of your water and nutrient solution.
- Watering can or container: For watering your plants.
- Pruning shears or scissors: Use trimming scissors to trim your plants during the vegetative and flowering stages.
- Trellis netting or support stakes: You may need to provide support for your plants and help them maintain an even canopy.
- Gloves: Clean gloves will help protect your plants from contamination.
- Magnifying glass: Use a magnifying glass or jeweler's loupe to inspect your plants for pests and diseases and to determine when the plants are ready to harvest.
Growing weed with an aeroponic or hydroponic system will require additional and/or alternative materials.
How to grow weed indoors
Growing weed indoors involves several stages and steps.
Stage 1: Germination
If you're starting off with seeds as opposed to clones, you need to start by germinating them. (If you're starting with clones, skip to Stage 3.) Cannabis seeds pop open during germination and form their taproot anywhere from 12 hours to seven days.
- Moisten a paper towel.
- Place the seeds between two layers of the damp towel, and place the setup inside a plastic bag or container.
- Keep the seeds in a warm, dark place between 70 – 80°F.
- Check daily for sprouted seeds with visible taproots.
Stage 2: Seedling
After the plants form their first set of leaves, they're called seedlings. During this stage, the cannabis plants grow taller and new leaf clusters begin to form. This stage can last 2 – 3 weeks.
- Fill small pots or seedling trays with a light, well-draining soil mix.
- Plant the germinated seeds about 1/4 inch (0.5 cm) deep in the soil, with the taproot pointing downward.
- Water gently and keep the soil moist but not soaking.
- Place the pots under a low-intensity light source, such as fluorescent tubes or low-wattage LEDs, for 18 – 24 hours per day.
- Maintain a temperature of 68 – 77°F and relative humidity of 60 – 70%.
Stage 3: Vegetation
The vegetation stage begins once your seedlings grow fan leaves with seven leaves. During this stage, you can expect the plants to develop more fan leaves, grow in height, and develop a mature root system. You can expect this growing stage to last roughly 4 – 8 weeks.
- After 2 – 3 weeks, or when the seedlings have developed 3 – 4 sets of leaves, transplant them into larger pots: 3 – 5 gallons for most plants, 7 – 10 gallons if you're anticipating larger plants.
- Place them in your grow tent or dedicated grow environment.
- Increase the light intensity by using grow lights suitable for the size of your grow space (LED, HID, or CFL). Set a light schedule of 18 hours on and 6 hours off.
- Water your plants whenever the top 1 – 2 inches of soil becomes dry. Avoid overwatering your plants during the vegetative stage to ensure they do not develop any form of root rot.
- Set up your exhaust fan and introduce an oscillating fan to promote air circulation.
- Monitor the temperature (70 – 85°F) and humidity (40 – 60%).
- Gradually introduce nutrients, following the manufacturer's instructions, and maintain a pH of 6.0 – 7.0 for the soil.
- Train and prune your plants as needed to maintain an even canopy and encourage bushy growth.
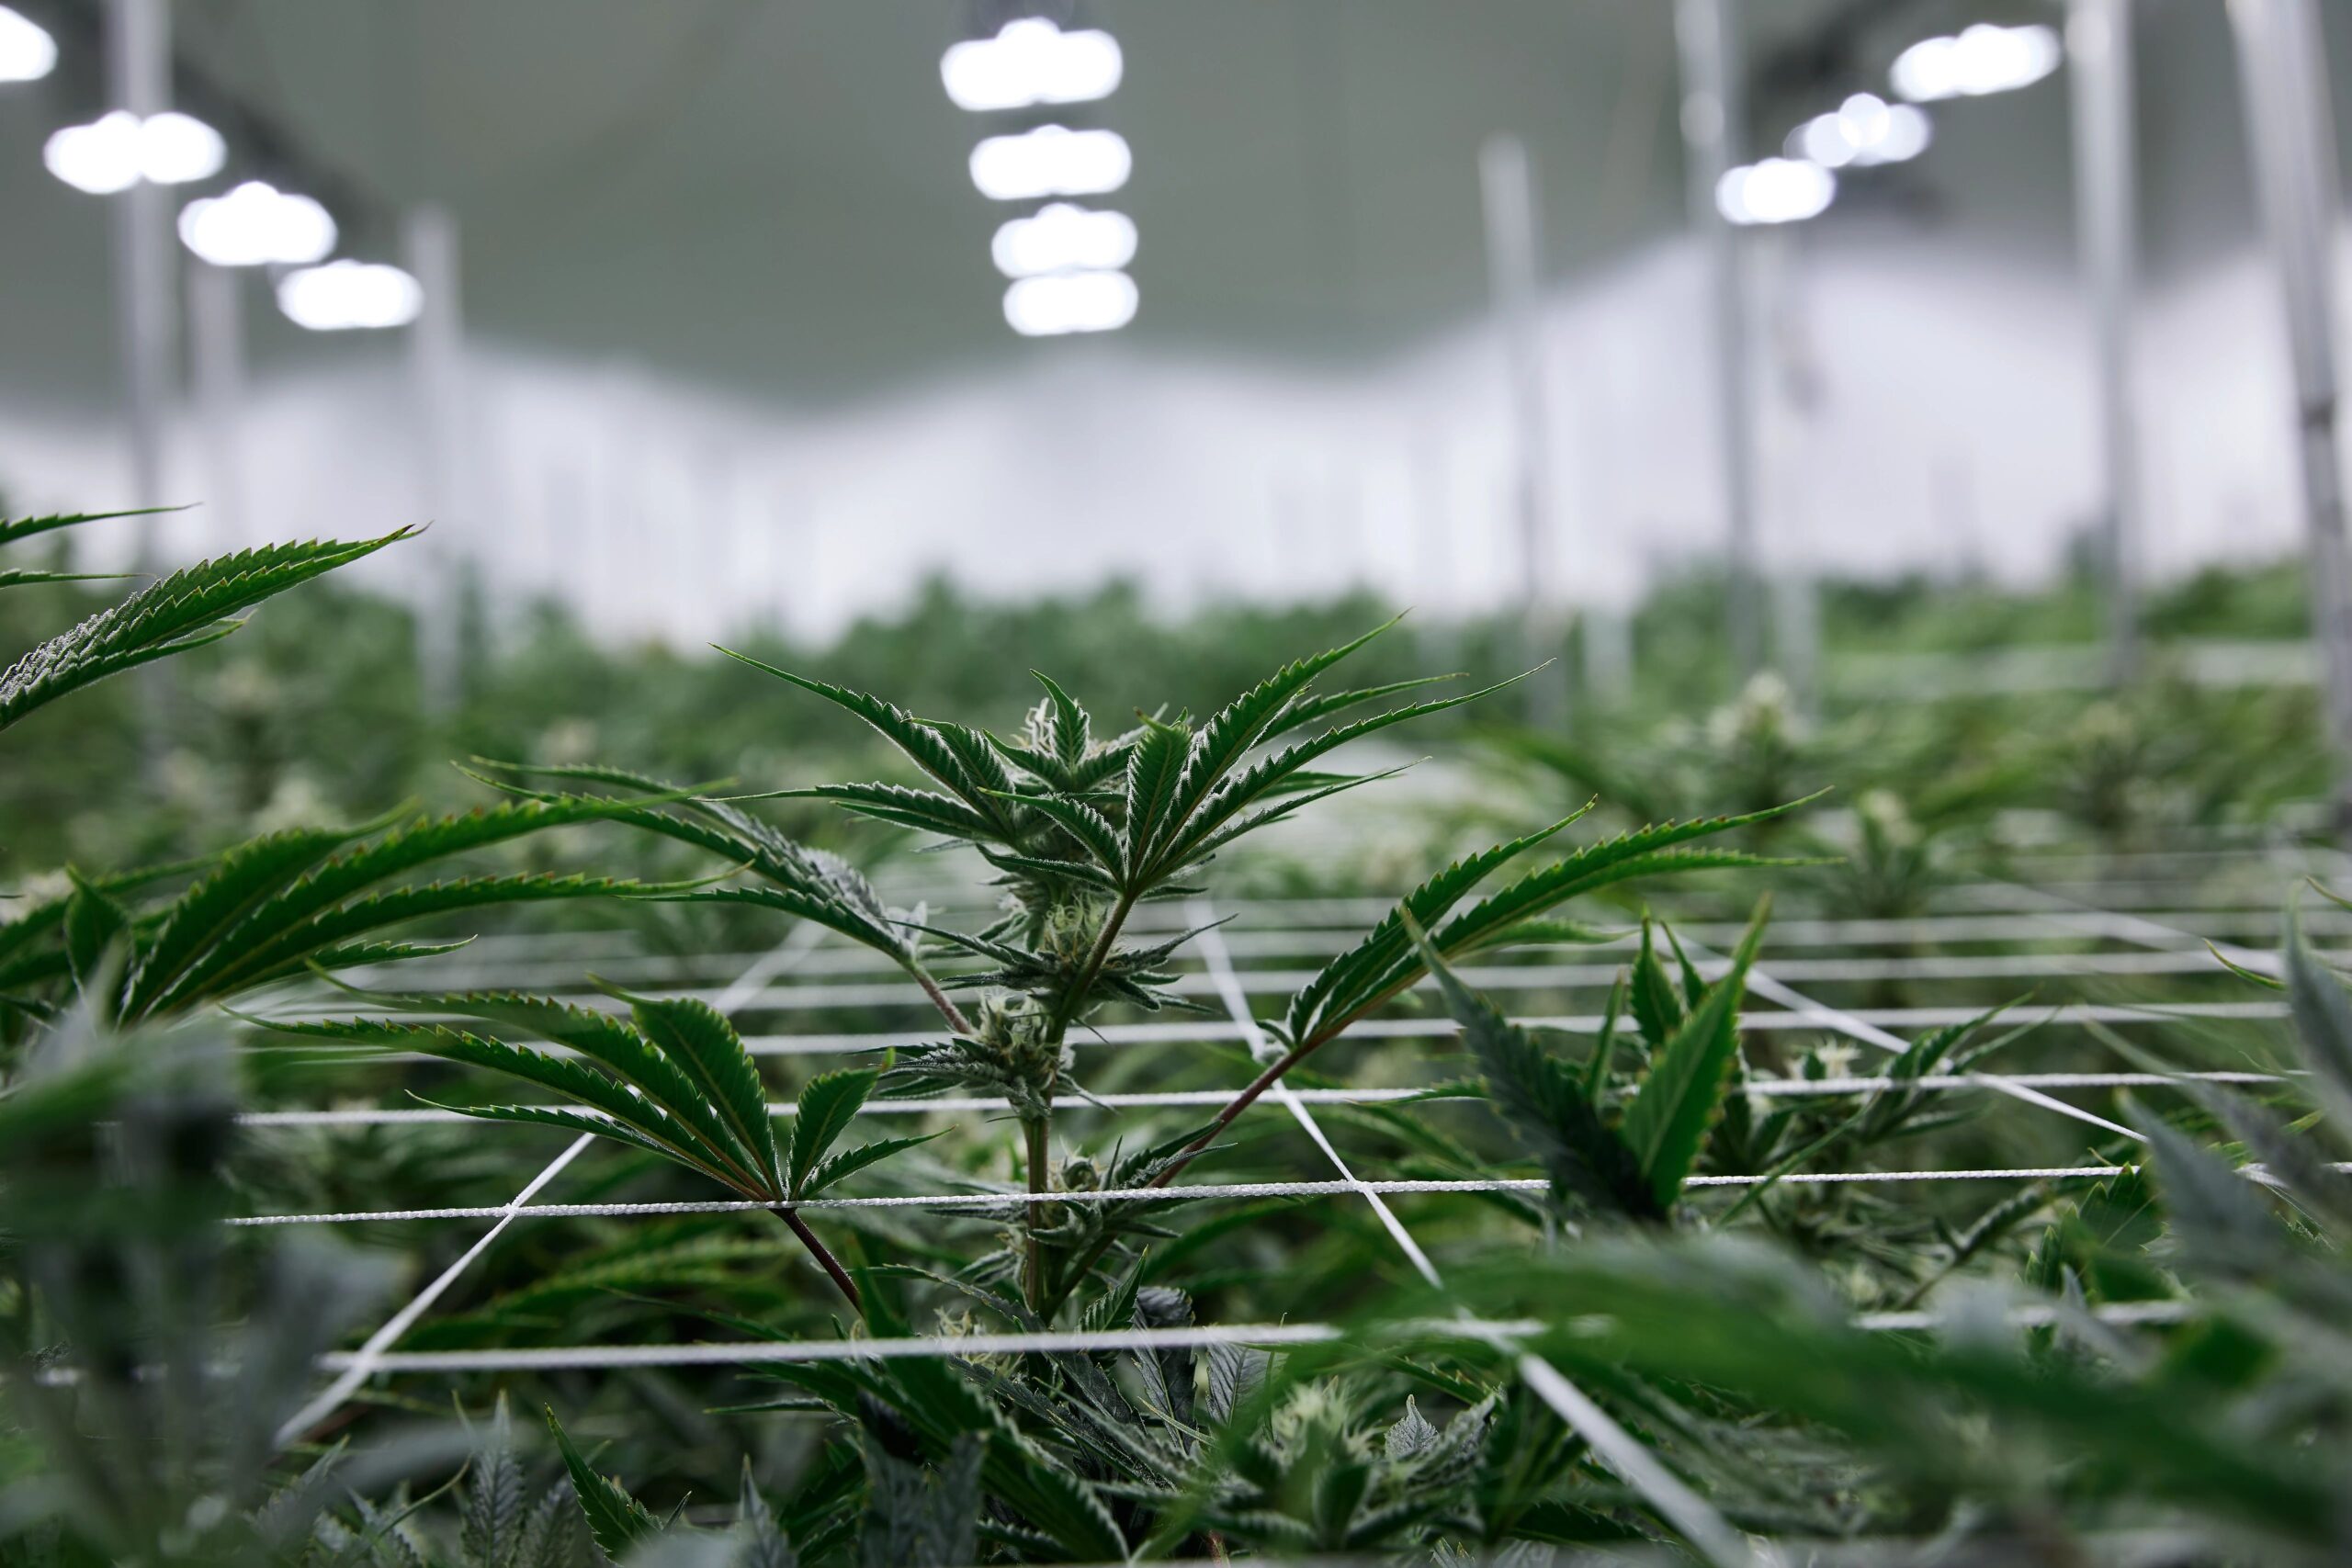
Stage 4: Flowering
Possibly the most exciting growth stage for cannabis is the flowering stage. Once your cannabis plants enter this stage, you can expect trichome-rich flowers and buds to form. You can expect this growing stage to last roughly 7 – 11 weeks.
- Switch the light schedule to 12 hours on and 12 hours off to initiate flowering.
- Adjust the nutrients to a bloom formula, which is higher in phosphorus and potassium and lower in nitrogen.
- Monitor temperature (65 – 80°F) and humidity (40 – 50%), reducing humidity further to 30 – 40% in the last two weeks before harvest.
- Inspect your plants regularly for signs of pests or diseases.
- Use a magnifying glass to check the trichomes on the buds. You'll know it's time to harvest when most of the trichomes are milky-white and some have turned amber.
How to harvest your indoor cannabis plants
 Photo by: Gina Coleman/Weedmaps
Image lightbox

Once your cannabis plant is ready for harvest, it's all about preserving the flowers' delicate trichomes. Drying, trimming, and curing the buds ensures that you have weed to smoke for months to come.
Here's how to harvest your plants:
Step 1: Dry
Cut the whole plant at the base or cut the plant into large branches. Trim away the large fan leaves and discard them or save them for other uses. Hang your cuttings upside down on a clothesline in an environment that is not overly dry or humid. Leave the branches upside down to dry until the stems almost snap when bent. The initial drying process usually takes 3 – 7 days.
Step 2: Trim
Begin trimming by holding your colas by the stem and using trimming scissors to cut away any sugar leaves and stems that surround the buds. Take care when handling your buds, as every moment of contact can result in trichome loss or damage. Whenever possible, hold your plants and branches by the end of the stem.
Step 3: Cure
To cure your weed and preserve the buds for long-term storage, place the trimmed buds in a glass jar or Rubbermaid tote for 4 – 8 weeks. During the first week or two, open the containers daily to allow some fresh oxygen to replace the air in the container. This process is called "burping" and is repeated until the buds have an optimal moisture content. In the last two weeks of curing, open the containers every 2 – 3 days.
Tips for storing your harvested weed
Store your cured flower correctly to maintain its potency, flavor, overall quality, and to ensure that all your hard work doesn't go to waste.
 Photo by: Gina Coleman/Weedmaps
Image lightbox

Here are three tips for storing weed:
- Keep in an airtight container. Exposure to air can degrade cannabinoids and terpenes. Store your cannabis in an airtight container such as a glass jar or a specialized cannabis storage container.
- Store in a cool, dark place. Heat and light can degrade the quality of your cannabis over time, so store it in a cool, dark place like a cupboard, drawer, or closet. The ideal storage temperature for flower is around 60 – 70°F.
- Control humidity. Cannabis should be stored at a relative humidity level of 55 – 62% to maintain its freshness and prevent mold growth. Use humidity control packets, such as Boveda or Integra Boost, inside your airtight container to help maintain the proper humidity level.
Tips to control the smell of your indoor grow
Growing weed indoors can produce a strong odor, especially during the flowering stage when the plants produce terpenes and other aromatic compounds.
To minimize the odor, consider taking the following actions:
- Choose strains with lower odor profiles. Some cannabis strains are known for their mild smell compared to others. Research and select strains that are less pungent if odor is a concern.
- Maintain proper ventilation. Ensure your grow space has a proper ventilation system — including an exhaust fan and intake vents — to circulate fresh air and help control the smell.
- Use a carbon filter. Carbon filters are designed to remove odors from the air by absorbing volatile organic compounds (VOCs) produced by cannabis plants. Install a carbon filter in your exhaust system to help mitigate the smell.
- Grow plants in a sealed environment. Using a grow tent or a dedicated grow room with sealed doors and windows can help contain the odor within the growing area.
- Use air purifiers. Air purifiers equipped with HEPA filters or activated carbon can help reduce odors.
- Use odor neutralizers. Products like ONA Gel, which contains essential oils and other compounds, can help neutralize odors in the grow area.
- Keep grow area clean. Regularly clean and maintain your grow space, removing dead leaves and debris to minimize the smell. Avoid overwatering as well, as damp conditions can exacerbate odors.
FAQ
Is it legal to grow weed indoors?
In most countries and local jurisdictions where cannabis is legal — medically or recreationally — some sort of home growing is typically allowed, but growing laws vary significantly from country to country and even city to city. If you're a prospective or current home grower, learn the laws and regulations of your jurisdiction.
How long does it take to grow weed indoors?
The overall growth time depends on the strain. For example, autoflowering strains may have a shorter overall growth time. Generally, the germination stage takes up to a week, the seedling stage takes 2 – 3 weeks, the vegetative stage lasts 4 – 8 weeks, followed by a flowering stage of 7 – 12 weeks. All in all, it can take 14 – 24 weeks to grow a weed plant from seed to harvest.
What is the best lighting for growing cannabis indoors?
The most popular options are High-Intensity Discharge (HID) lights, Light Emitting Diodes (LEDs), and Compact Fluorescent Lights (CFLs). LEDs are often preferred for their efficiency, lifespan, and lower heat output.
What type of growing medium should I use?
Popular growing mediums include soil, coco coir, and hydroponic systems. Soil is the most beginner-friendly, while coco coir and hydroponics allow for faster growth and greater control over nutrients.
Can you grow cannabis indoors without lights?
Growing weed indoors without grow lights is challenging and generally not recommended because cannabis plants require sufficient light to thrive — especially during the vegetative and flowering stages. Inadequate lighting can result in weak plants, low yields, and poor potency — if the plants flower at all. However, if you're less concerned with harvesting flower and want to experiment with growing weed as a houseplant, put your plant near a window that gets at least six hours of direct sunlight per day for the best results.