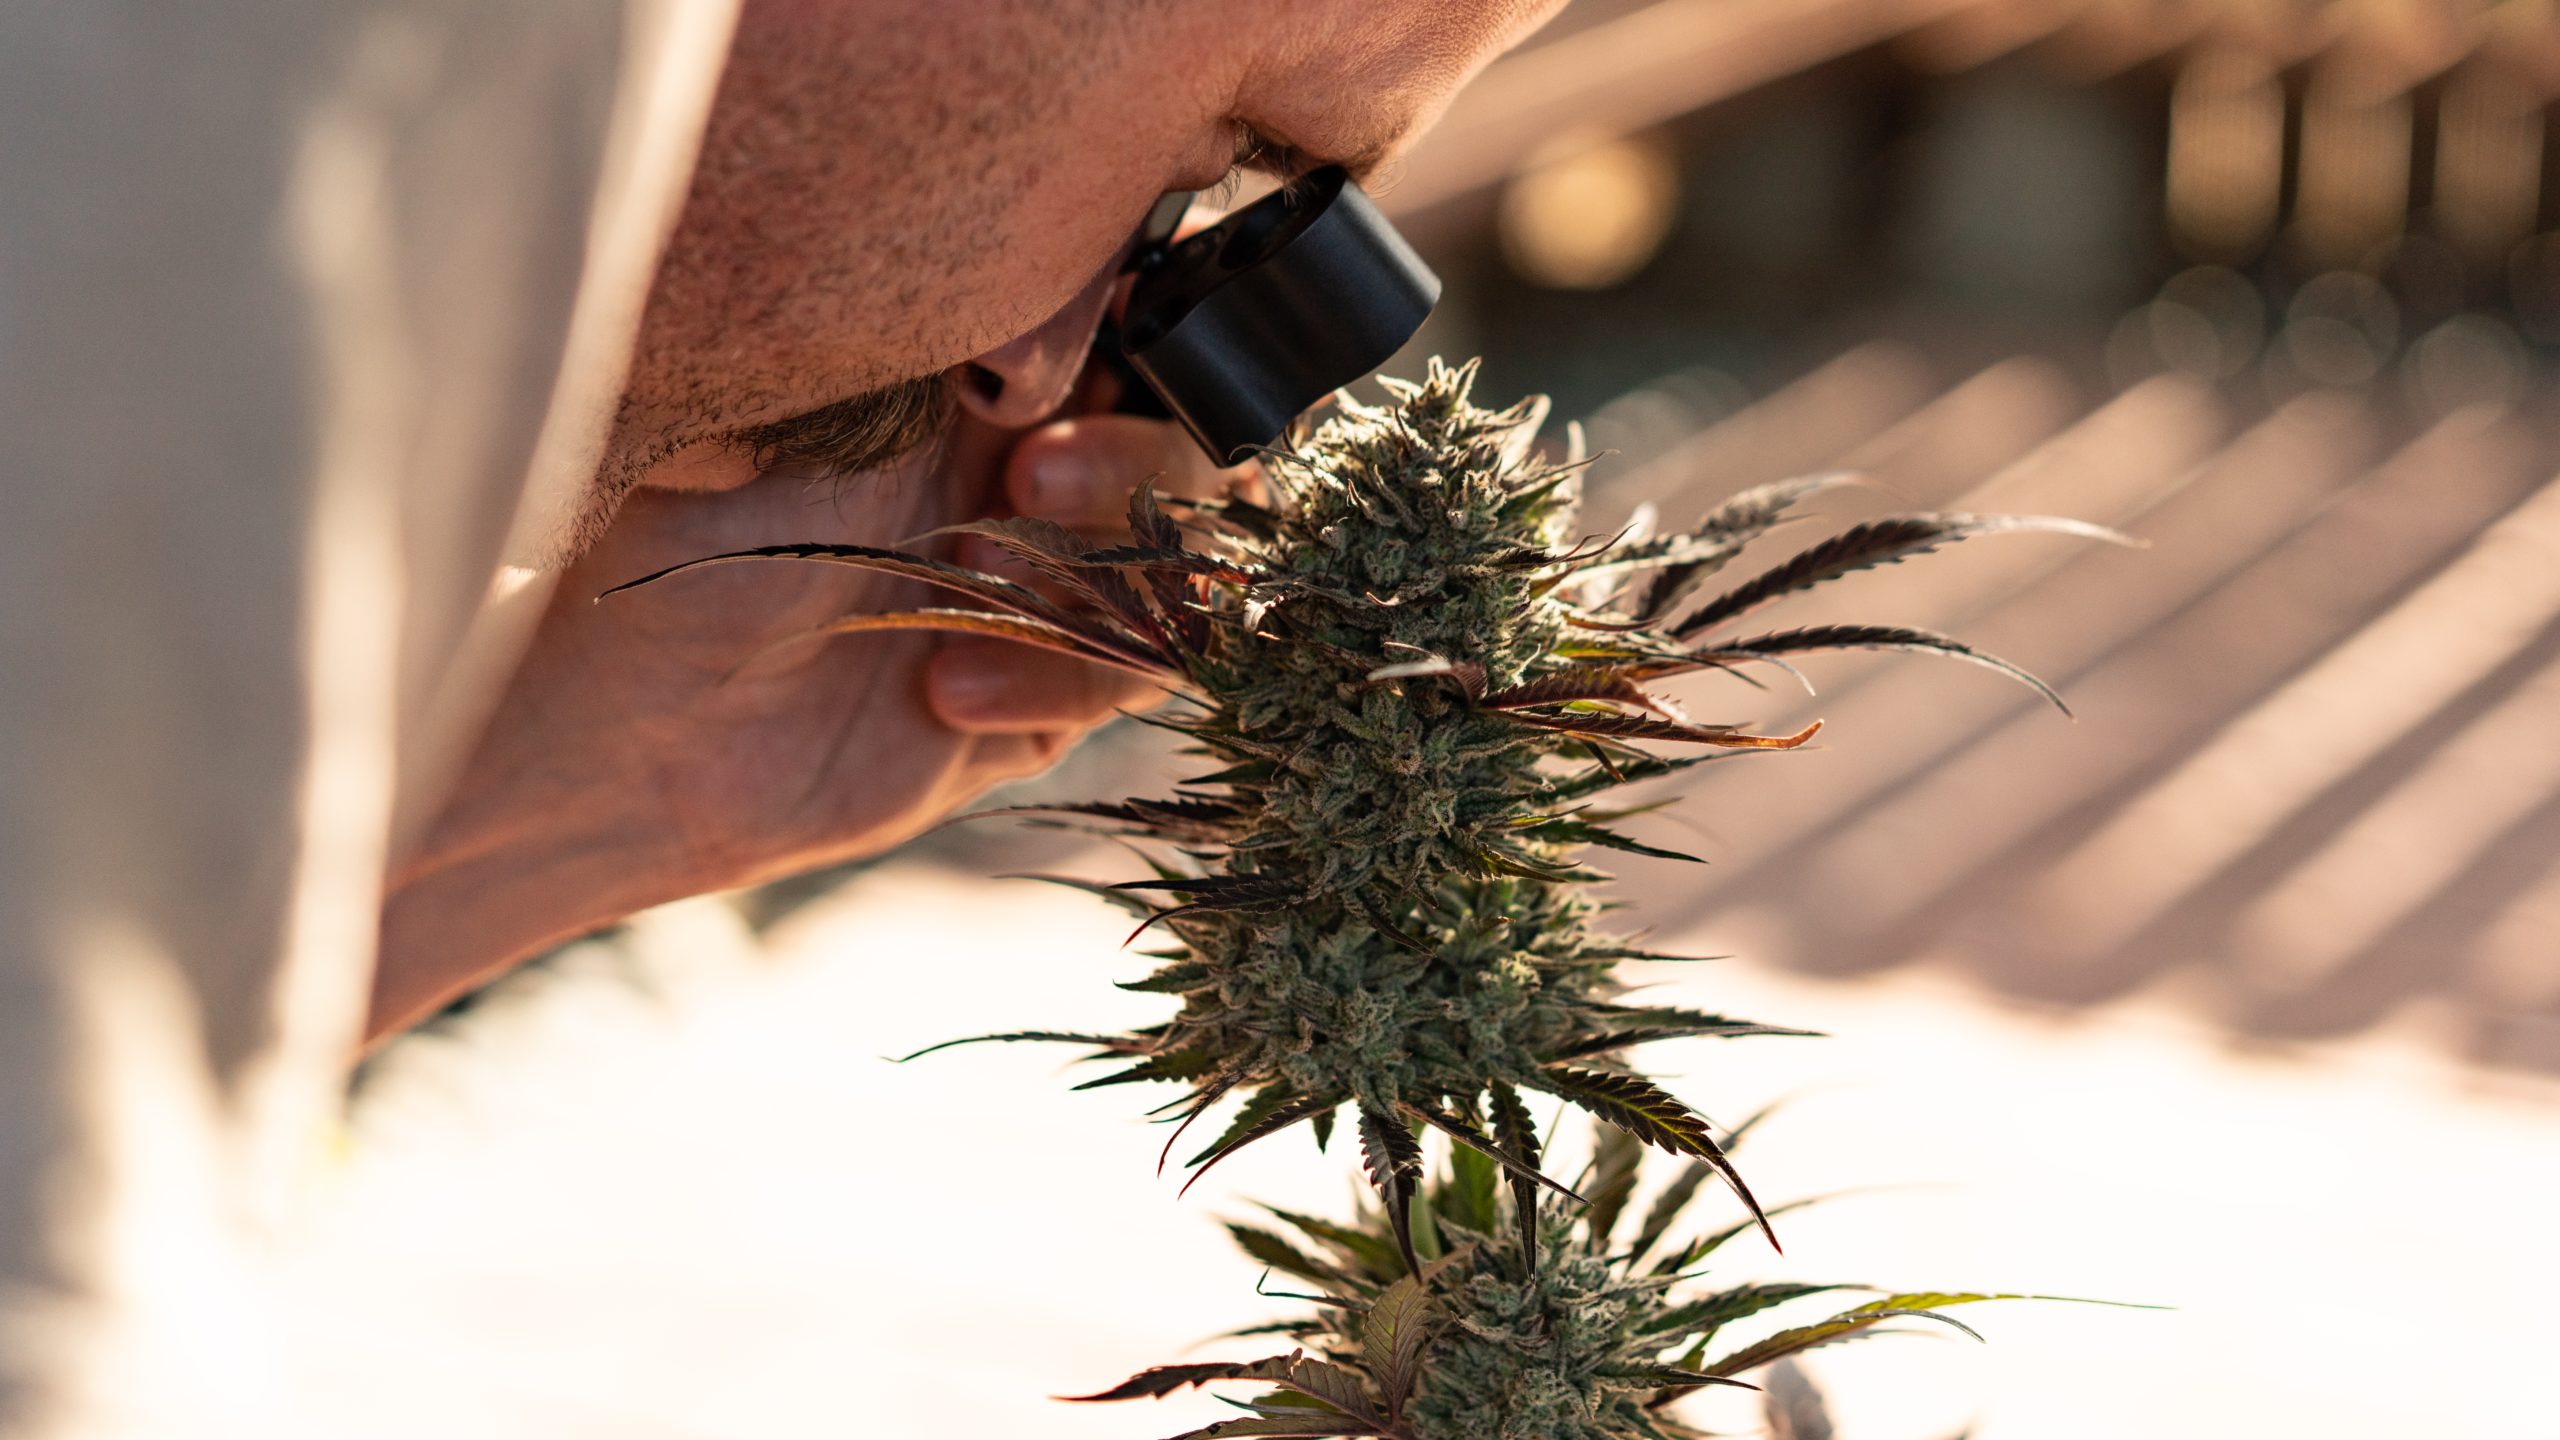
Curing, or transforming a freshly picked cannabis plant into the familiar frosty buds we know and love, is a very important part of the cannabis plant's life cycle.
If you've been curious about growing your own cannabis or are ready to plant your first crop, it's important to know how to cure your plants properly.
Below, we cover all things curing and provide a detailed guide on how to cure weed at home.
Find perfectly cured weed on the Weedmaps app
What is curing?

Image lightbox

In the broadest sense, curing cannabis is no different than curing meats, other plants, or any other food. It is a preservation technique that aims to remove moisture and render a more shelf-stable final product. Fresh cannabis flower is prone to the same rot and degradation as any other perishable product, so it must be dried and cured before it reaches dispensary shelves.
While the curing of foods often involves a variety of tools, ingredients, and techniques, the curing of cannabis is a more straightforward process that simply involves the careful and gradual removal of moisture under controlled environmental conditions.
It's important to note that drying and curing are two post-harvest processes that remove moisture from the plants, but drying is a different process that must happen before curing.
Once plants are harvested, they must be trimmed by either wet trimming or dry trimming and then go through the process of air drying, which removes moisture from the outermost layers of the plant. The manicured flower can then be carefully aged and dried further through curing, all to produce the best quality flower possible.
Why is curing weed important?
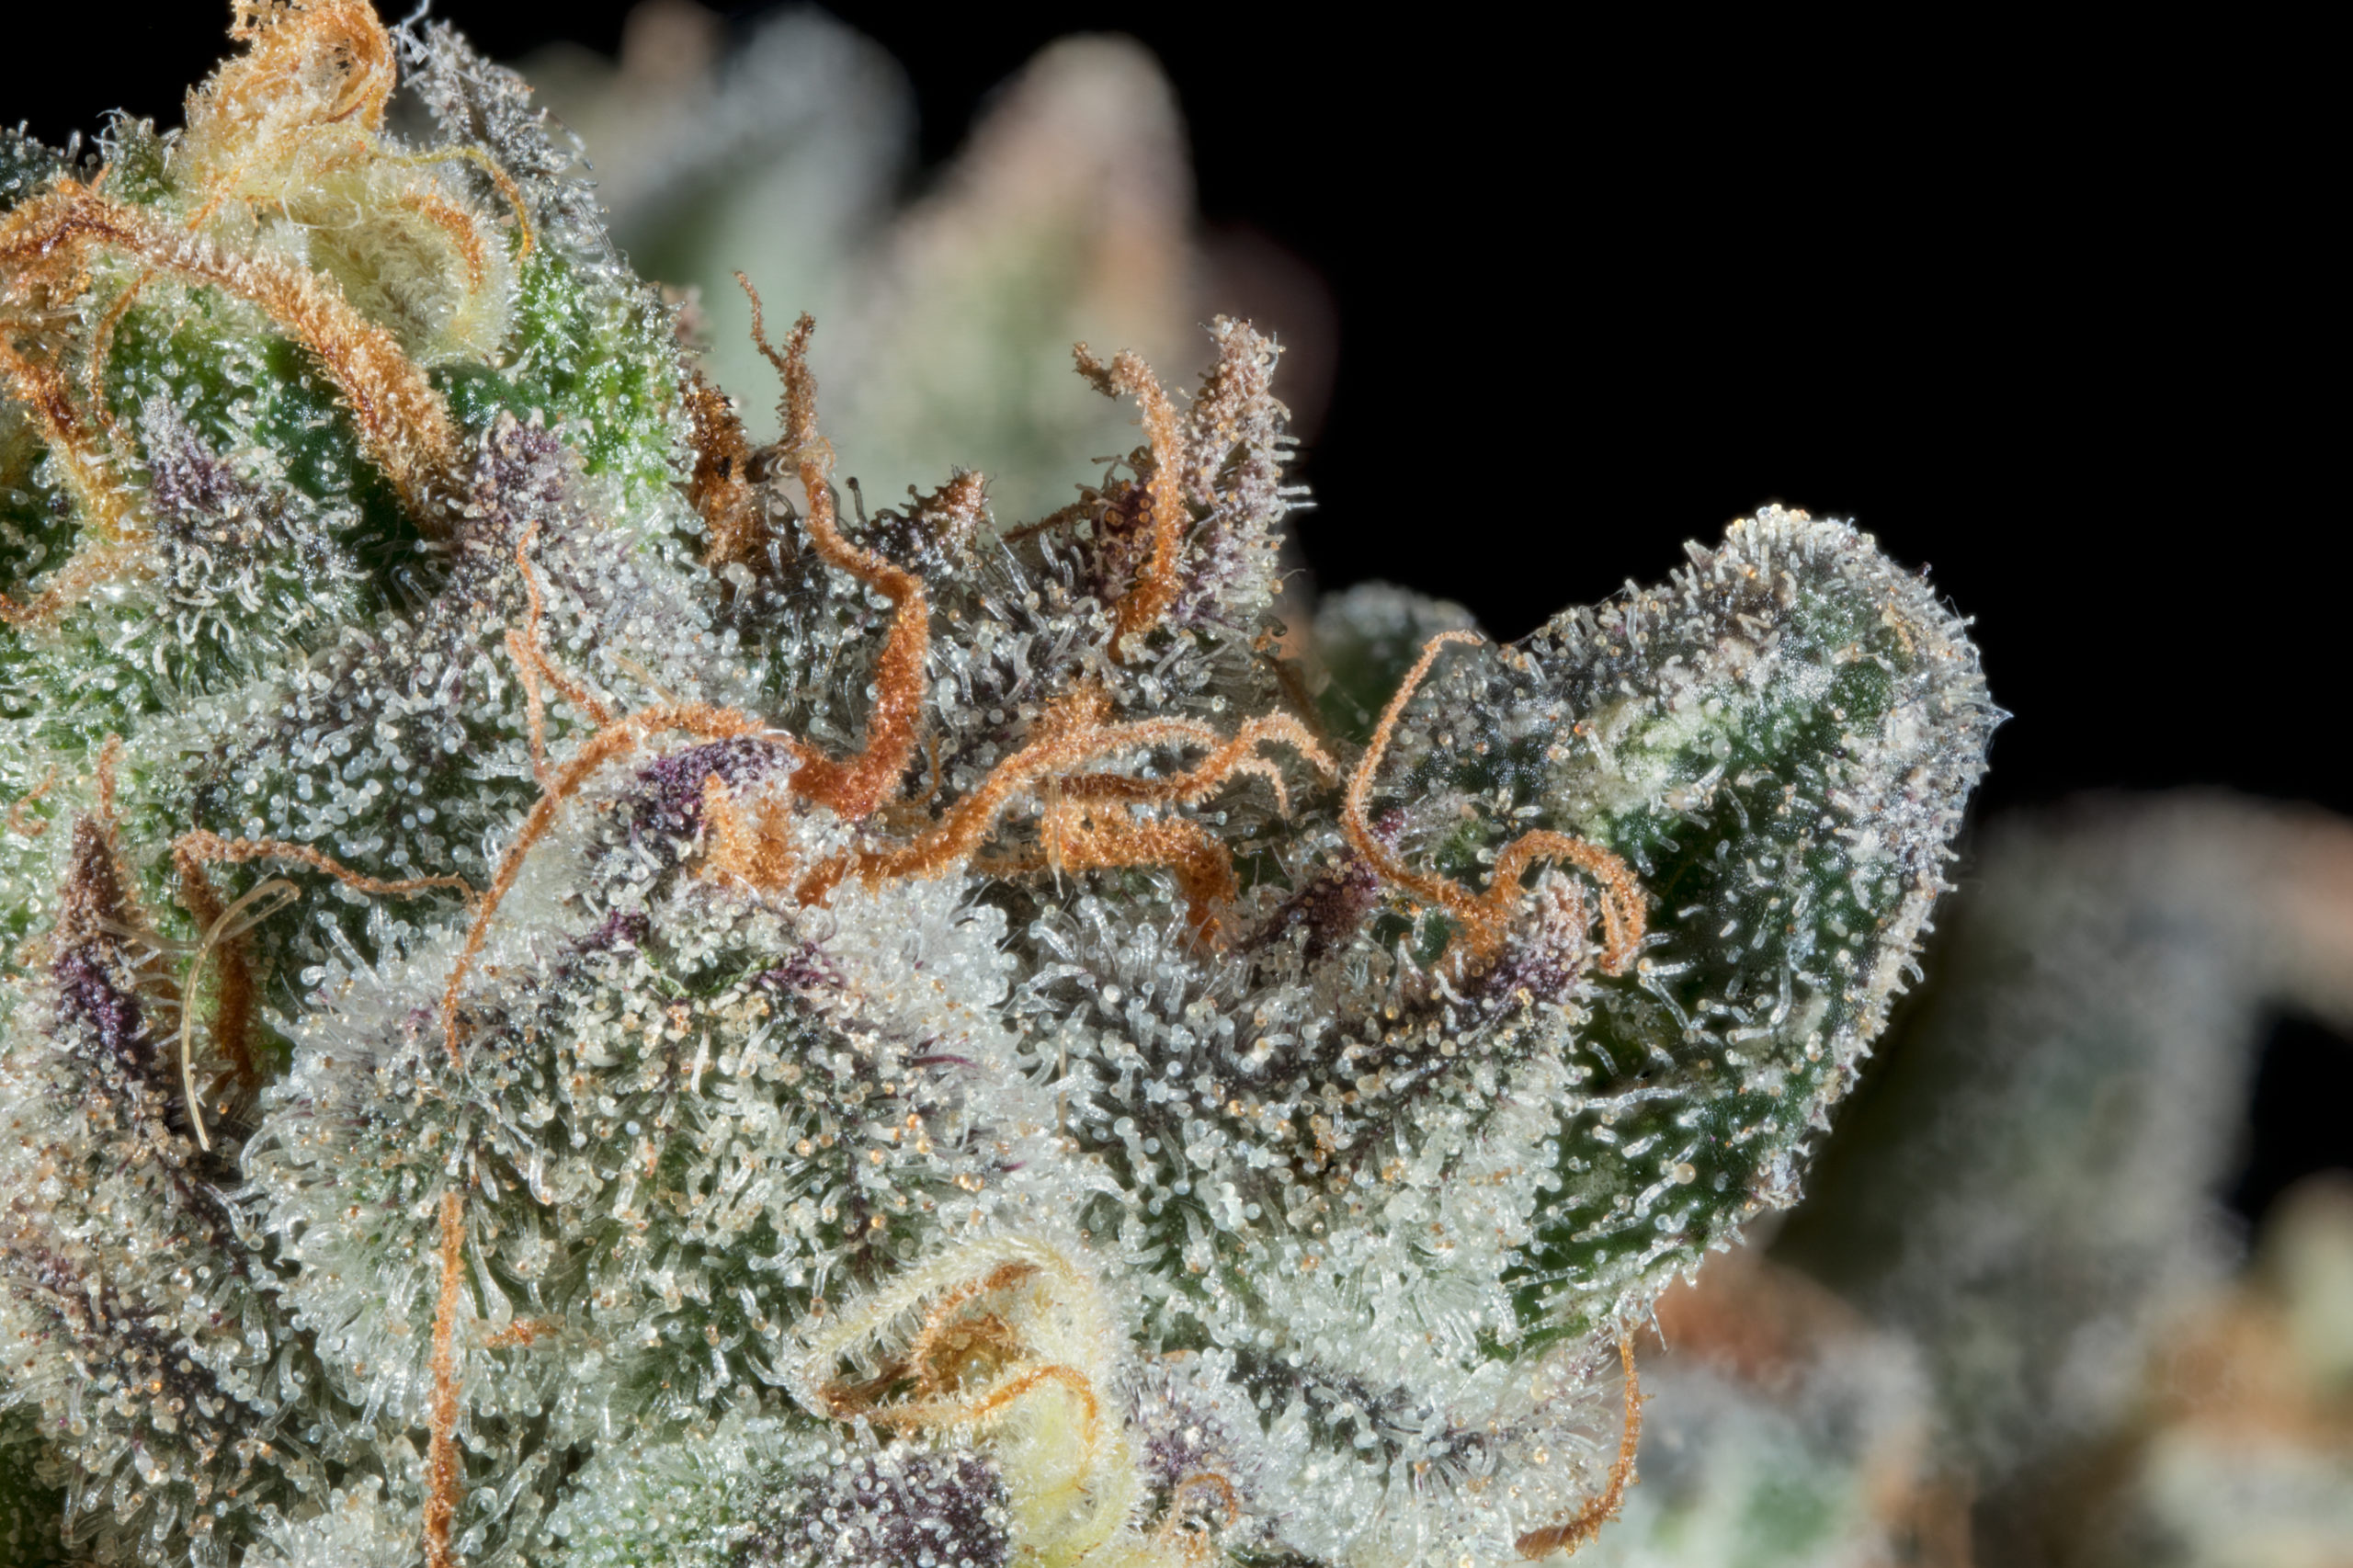
 Photo by: Gina Coleman/Weedmaps
Image lightbox

Curing is a crucial step for ensuring that marijuana flower will be shelf stable, but it's important for several other reasons.
- Curing encourages the degradation of plant byproducts such as sugars and chlorophyll. Freshly harvested cannabis contains starches that serve as a breeding ground for mold, mildew, and other airborne bacteria. If smoked, these molecules leave harsh, unpleasant tastes in your mouth. Curing eliminates these byproducts from your nugs, protecting your plants from bacteria and producing a much smoother smoking experience.
- Curing enhances the flavors of your weed by preserving the delicate bouquet of terpenes it contains. Terpenes provide cannabis its delicious smell and taste, but these molecules are fragile since they can degrade and evaporate quickly. Careful preservation of terpenes through curing allows the unique aromas and flavors of your cultivar to shine through.
- Curing helps to preserve the potency of your plant, which is a major benefit if you've invested time and money in cultivating a great set of genetics. Through exposure to light, heat, and oxygen, cannabinoids like THC and CBD slowly degrade.
- Curing preserves important active compounds like cannabinoids and terpenes much more successfully than faster drying techniques.
- Curing dramatically enhances the shelf life of your harvest. When correctly cured and stored, your buds are protected from mold and can last for nearly two years with imperceptible changes in flavor and potency.
How long does it take to cure weed?

Image lightbox

Curing weed will take at least three weeks, though the length of time needed to cure your beautiful buds will vary. Each cultivar — in fact, each individual plant — will produce flower buds of different sizes and densities. The conditions of the environment — temperature, humidity, and even the containers used — will also affect the curing process.
So, while curing will usually take anywhere from three to eight weeks, some growers will cure their flower for upwards of six months. Most cultivators and home gardeners agree that patience is an important part of the curing process since going slow and controlled will yield the best results.
What's the right humidity for curing weed?
Maintaining a consistent humidity level in your curing containers is an imperative part of the curing process. Ideally, humidity levels should be between 55 - 62%.
A great tool for measuring the humidity levels inside your curing containers is a hygrometer. Digital hygrometers are easy to use and can be found relatively cheap at hardware or gardening stores.
If, during curing, you find that the humidity levels are not within the 55 - 62% range, you can make adjustments to get it right. If the humidity is too high, you'll need to leave the containers open for half a day or longer before resealing and rechecking the next day. If the humidity levels are too low, you can add a humidity pack, like this one from Boveda, to bring them up.
Tools for curing weed
Curing weed at home is a straightforward process that requires simple tools.
- Glass jars that can be tightly sealed
- A hygrometer for measuring humidity levels
- Humidity packs if humidity levels need to be increased
- Disposable gloves
How to cure weed
Time needed: 21 days
Curing weed takes some time and monitoring, but it's worth the effort.
- Find a cool, dark space to cure.
Before you start, ensure you have an appropriate space to cure. Three environmental variables need special attention when curing and storing your bud.
Light: Light is one of the top culprits of weed degradation, as light waves and UV rays degrade the integrity of both the THC and terpenes in your bud.
Heat: Heat, like light, is responsible for the degradation of the desirable terpenes and THC potency of your weed, so lower temperatures will go a long way to maintaining bud quality. Room temperature — about 68 - 72°F — or lower is best.
Humidity: Too low, and your buds will become brittle and crispy. Too high, and you encourage the development of mold. Keep your buds at a Goldilocks zone of 55 - 62% humidity during curing.
A cupboard or other storage room will do nicely, so long as temperatures stay at 72°F or lower. - Fill your curing jars 75% full.
Wear sterile disposable gloves and fill each jar about ¾ of the way full with your dried and trimmed buds. You need to leave some free space for airflow, so err on the side of under versus over-filling the jars.
This is an excellent time to test whether you have dried your nugs properly. Give your jars a gentle shake. If the buds are still too wet, they will clump together, and mold and bacteria are more likely to develop. If they shake around and don't stick to one another, you're ready to cure.
Apply lids to the jars and place them in the cool, dark location you identified in the first step. - Inspect and burp the containers twice daily for the first week.
Over the first week, check your buds twice daily. Inspect them through the glass and keep an eye out for any mold.
Open the lids for about five minutes each time to allow fresh air to flow into the jars — this process is called "burping" — while keeping an eye on the humidity levels using your hygrometer.
If humidity levels are too high, leave the lids off for 2 - 4 hours to allow excess moisture to escape. If humidity levels are too low, add a humidity pack to boost them.
If you notice the smell of ammonia when opening a jar, it means your buds are too wet and are at risk of rot and mold. If, after careful inspection, you don't see any mold or other signs of rotting, give them an extended burping period of 24 hours before resealing and rechecking. - Inspect the containers daily and burp them regularly for the next two weeks.
Inspect the jars once daily over the following two weeks for visible signs of decay or mold, and adjust humidity levels as needed. You can now burp containers once every few days.
- Try some of your weed at the three-week mark.
This is where the curing process gets fun. After about three weeks, your buds should be well-cured and ready to smoke. That said, more extended curing periods — up to six months — will further improve flavor and potency with noticeable changes in quality. It's entirely up to you, but in the case of curing, patience is a virtue.
So, go ahead and smoke the flower to see if it's smooth, flavorful, and enjoyable. If it's not, simply cure some more. - Store your cured flower for long-term fun.
Once your flower is cured, ideal storage conditions are about the same as ideal curing conditions: cool, dark, and with relatively stable humidity. Keeping the buds in an airtight container, like the jars you cured them in, is just fine.