 Photo by: Gina Coleman/Weedmaps
Image lightbox

Rolling a joint that burns evenly is about understanding how airflow, density, and heat interact inside a small paper cylinder. When a joint canoes, burning down one side faster than the other, it's usually because something in that system is unbalanced.
Air follows the path of least resistance. Fire follows oxygen. If the structure inside the paper isn't consistent, combustion won't be either. That's why even experienced consumers sometimes deal with uneven burns.
Here's how to construct a joint that burns clean from the first pull to the last.
Why joints burn unevenly
Uneven burning typically traces back to three structural problems: inconsistent grind size, uneven distribution of flower, or restricted airflow caused by over-packing. Lighting technique can also amplify small structural flaws that might otherwise go unnoticed.
When one section of a joint contains denser material, it burns more slowly because airflow struggles to move through it. Meanwhile, looser sections receive more oxygen and combust faster. The result is a visible run along one edge of the rolling paper.
Moisture content also plays a role. If the flower holds more moisture than the paper, the paper may burn ahead of the plant material. If the flower is overly dry, it may combust too quickly and create hot spots. Balance matters.
Understanding these mechanics makes the rolling process far more predictable.
Step 1: Use a consistent, medium-fine grind

Image lightbox

Grind size directly affects combustion rate. Smaller particles expose more surface area to heat, which increases burn speed. Larger chunks create internal air pockets that disrupt airflow and allow certain sections to ignite faster than others.
A medium-fine grind provides the most stable balance. The texture should resemble coarse sea salt, not powdery, and not chunky. A standard grinder helps create uniform particle size, which promotes more even heat distribution once lit.
Breaking flower apart by hand often produces inconsistent fragments. Those variations might seem minor at first, but inside a tightly rolled paper, they can create enough imbalance to trigger a run halfway through the session.
Consistency at the grind stage prevents problems later.
Step 2: Distribute the flower evenly before shaping

Image lightbox

Once the flower is ground, resist the urge to roll immediately. Lay the paper flat and distribute the material evenly across its length, making sure density is consistent from filter to tip.
Take a moment to visually inspect the line of flower. You should not see clumps on one side or visible gaps along the other. After distributing, gently roll the paper back and forth between your fingers, without sealing it, to feel for hard spots or hollow areas.
This tactile check is important. A lump may not be visible from above but can be felt through the paper. If you notice uneven density, redistribute before closing the seam. Once sealed, structural flaws become harder to correct.
Even internal structure leads to even airflow.
Step 3: Control airflow with proper packing density

Image lightbox

Packing density determines how easily oxygen travels through the joint. If the flower is compressed too tightly, airflow becomes restricted. When that happens, combustion intensifies along whichever channel air manages to move through, creating uneven burn lines.
On the other hand, if the flower is too loose, air pockets form. Those pockets allow flame to jump ahead unpredictably, again causing one side to race forward.
After sealing the paper, hold the joint upright and tap the filter end lightly against a firm surface. This settles the material naturally without forcing compression. Then gently pack from the open end with a slim tool, applying light pressure only.
The goal is firmness with flexibility. The joint should hold its shape but still feel slightly springy when squeezed. If it feels rigid like a stick, it's likely over-packed.
Balanced density supports balanced combustion.
Step 4: Build airflow through proper filter structure

Image lightbox

The filter, or crutch, does more than protect your fingers and lips. It stabilizes the cylindrical shape of the joint and regulates airflow from end to end. If the filter is poorly rolled, airflow becomes inconsistent before combustion even begins.
When rolling a filter, fold one or two small accordion bends at the start. These folds create internal structure and prevent the tip from collapsing inward during draws. After forming those folds, roll the remaining paper around them until the filter fits snugly inside the rolling paper without expanding it.
A filter rolled too tightly increases draw resistance. This forces you to inhale harder, which superheats specific internal channels and can create uneven combustion. A filter rolled too loosely reduces structural stability and allows air to bypass sections of flower.
Before lighting, test the airflow by gently inhaling through the unlit joint. You should feel steady resistance, not a blocked pull and not a completely open rush of air. That balance ensures oxygen will move uniformly once the cherry forms.
Step 5: Seal and shape without distorting the cylinder

Image lightbox

When sealing the paper, avoid compressing the contents unevenly. Tuck the non-adhesive edge under the flower carefully, rolling upward while maintaining even pressure across the length. The goal is a symmetrical cylinder, not a cone with one compressed side.
Once sealed, examine the shape. The diameter should be consistent from filter to tip unless you intentionally rolled a cone. Even in cone-shaped pre-rolls, internal density should still be uniform.
At the open end, twist the excess paper into a gentle taper rather than a tight knot. A tightly twisted end can cause uneven ignition because one section ignites first and creates a dominant burn channel. A tapered closure allows the flame to contact the circumference more evenly during lighting.
Structural symmetry at this stage directly influences combustion symmetry later.
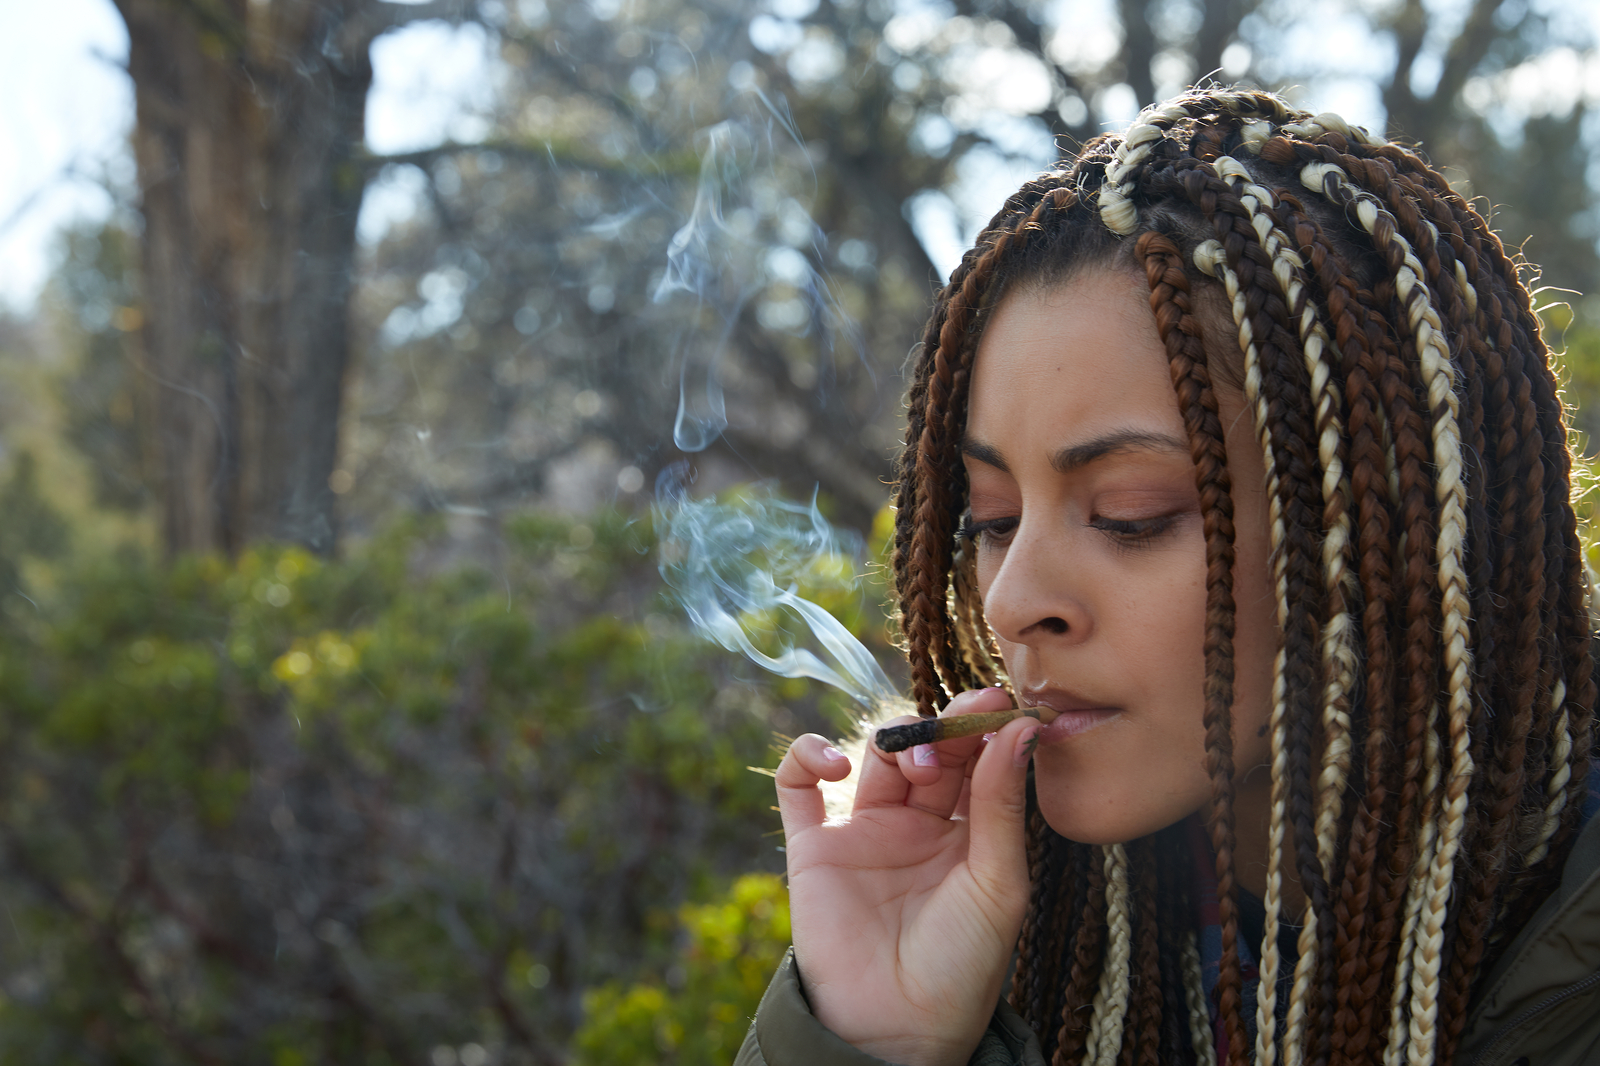
Step 6: Light evenly to establish a uniform cherry

Image lightbox

Lighting technique determines how combustion begins. An uneven ignition can create a burn imbalance that persists for the entire session.
Hold the flame slightly below the twisted tip and rotate the joint slowly between your fingers. Allow the paper to toast evenly around its circumference before taking a draw. This process ensures that the outer layer of flower begins combusting at the same rate across all sides.
Once the tip glows evenly, take slow and controlled initial pulls. Strong, forceful draws increase oxygen flow abruptly and can create a single dominant combustion path through the center of the joint. That channel then widens as you continue smoking, leading to a visible run.
Gradual airflow allows the cherry to expand uniformly. Think of it as establishing a balanced burn zone rather than forcing ignition.
Managing airflow and heat during the session

Image lightbox

Even a well-rolled joint can develop slight imbalances if heat accumulates unevenly.
Holding a joint completely horizontal causes heat to rise toward the upper edge, drying and accelerating combustion on that side. Maintaining a slight upward angle, roughly 30 to 45 degrees, encourages heat to distribute more evenly along the burn line.
Rotating the joint slightly between pulls also helps equalize exposure. This simple adjustment prevents one section from remaining consistently hotter than the others.
Steady pacing matters as well. Rapid consecutive pulls raise internal temperature quickly and can destabilize airflow. A moderate rhythm keeps combustion stable and reduces the likelihood of canoeing.
Correcting an uneven burn mid-session
If one side begins burning ahead of the other, early intervention is effective.
Lightly moistening the faster-burning edge of the paper slows combustion on that side. The moisture reduces burn speed temporarily, allowing the slower section to catch up. Apply only a small amount and avoid saturating the paper.
If the imbalance becomes pronounced, it is often more effective to let the joint extinguish naturally. Tap off excess ash, then relight evenly by rotating the tip as described earlier. Resetting combustion is often cleaner than attempting to correct a severe run mid-burn.
Structural integrity combined with controlled airflow makes most of these interventions unnecessary, but understanding them gives you options when conditions are not ideal.
Flower quality and moisture influence burn stability
The condition of the flower itself significantly affects burn performance.
Flower that is excessively dry combusts rapidly and can produce harsh smoke, while flower that retains too much moisture resists ignition and may cause the paper to burn ahead of the plant material. Ideally, properly cured cannabis should feel slightly springy when squeezed, not brittle and not damp.
Consistent moisture content supports consistent combustion. Storing flower in airtight containers away from excessive heat and light helps preserve that balance and improves rolling performance over time.
Rolling technique cannot fully compensate for poorly stored or improperly cured flower.
The bottom line

An evenly burning joint is the result of controlled structure, balanced airflow, and steady ignition. Grind consistency, uniform distribution, appropriate packing density, and measured lighting all work together to create stable combustion.
When each component is aligned, the burn line remains even and the draw feels smooth throughout the session. When one component is off, combustion follows that imbalance.
Rolling is a skill built on understanding mechanics, not just repetition. Once you recognize how airflow and density interact, even burns become predictable rather than accidental.Shop high-quality joints for pickup or delivery from a dispensary near you.


