As the old saying goes, cleanliness is next to godliness. When it comes to smoking weed, cleaning your cannabis accessories is just plain good practice. Fortunately, keeping your bubbler squeaky clean is fairly straightforward. And the best news? If you do it regularly, you can avoid gross build-up and unwelcome clogging.
While bubblers come in a dazzling array of shapes and sizes, there's a general formula you can follow to keep them clean and hygienic. Here's the story on why bubblers need to be cleaned, what you need to clean them, and a step-by-step breakdown of the best way to get that glass gleaming again.
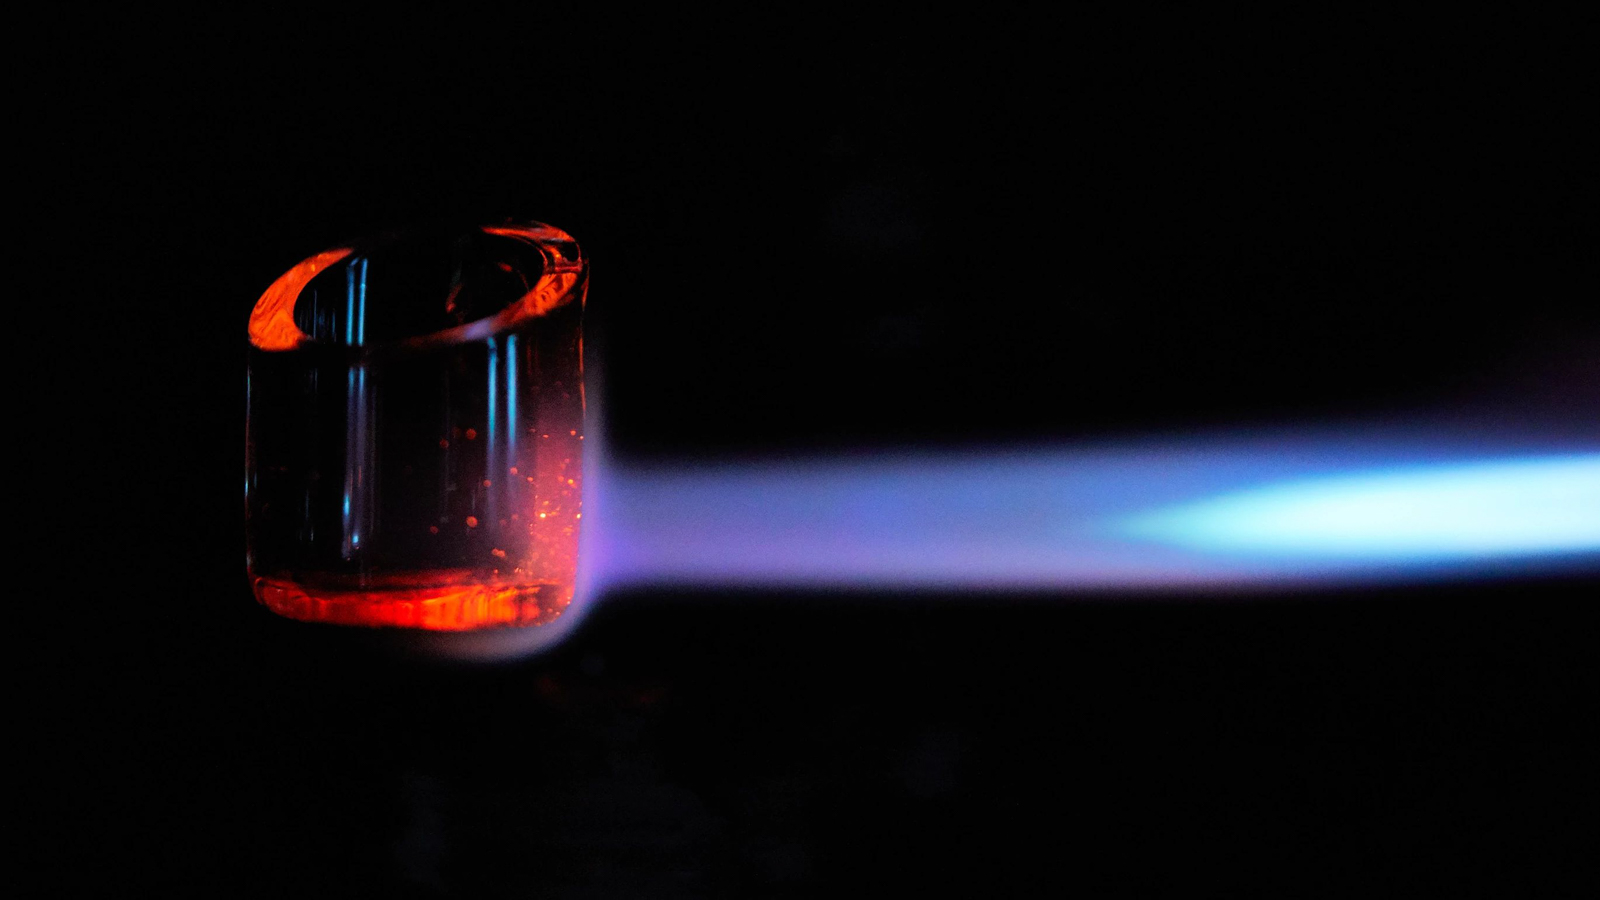
 Photo by: Gina Coleman/Weedmaps
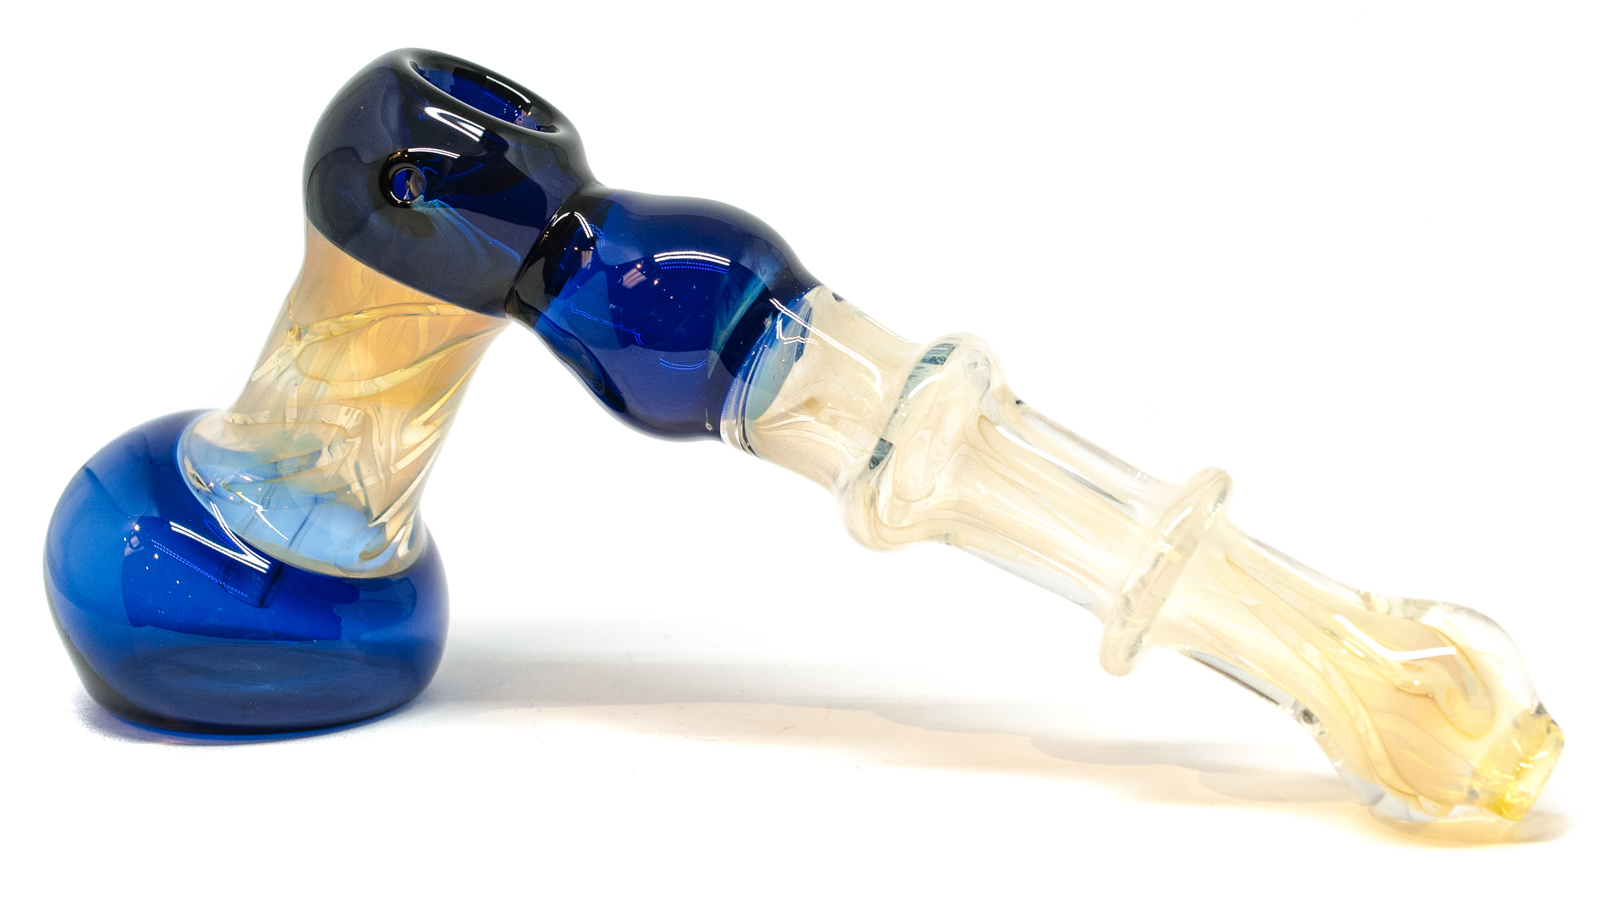
Image lightbox

Why you need to clean your bubbler
For many smokers, the bubbler is a prized possession worthy of care and attention. With their compact size, narrow pipes, and sometimes intricate design, bubblers can get grimy quickly. There are ample reasons to keep your bubbler clean, but they essentially boil down to hygiene and performance.
Bacteria and mold love moist environments. Moisture can get trapped inside the chamber of the bubbler, alternating through cycles of evaporation and condensation and ultimately pooling. It creates a warm, wet environment that's a breeding ground for bacteria. Bacteria aside, the residue from the weed itself can also accumulate, creating a hazard for smokers.
Some of the by-products of cannabis combustion are actually carcinogenic — offering extra motivation to clean out the residue and ensure you're not inhaling toxic fumes. Another health-related consideration is that unwelcome germs can be shared if you puff and pass frequently. Regular bubbler cleaning can reduce the likelihood of spreading illnesses or unwanted cold sores.
Finally, less residue and build-up means an enhanced experience. When there's less grime in the pipe and the chamber, smoke can travel more smoothly and freely. The delicate inner pipes of the bubbler are more likely to last longer too, as resin build-up can weaken them.
Bottom line: A clean pipe provides a better performance and a healthier, more pleasant high.


What you'll need to clean your bubbler
It's a good idea to have all the necessary materials on hand before you start de-griming your bubbler.
What you'll need:
- Cleaning agent. The solution that is most commonly used is isopropyl alcohol (rubbing alcohol). Seventy percent alcohol provides a lighter clean, while 91% isopropyl alcohol delivers a more thorough cleanse. Sea salt is often added to the alcohol as an abrasive.
- A pipe brush, pipe cleaner, or cotton swabs
- A sturdy zip-top bag
- Tongs with pads or rubber tongs
- Paper towels
Bubbler cleaning step-by-step
While there are many accounts of the best way to clean a bubbler, the standard approach is also the most straightforward. Take your time and be careful — bubblers can be fragile little accessories, so it's worth proceeding slowly.
- Flush out your bubbler
Flush out the inside of your bubbler with warm, clean water. Pour the water out, then place the bubbler into a zip-top bag.
- Add salt and alcohol to a bag with your bubbler
Add about ¼ cup of salt to the bag, then pour in 16 ounces of isopropyl alcohol. Sea salt is often added to the mixture to deliver extra oomph by helping to scour the residue. Smaller grained table salt will work fairly well too, however.

- Shake the bag
Seal and shake the bag vigorously for one minute, then leave the bubbler in the bag, and lean the bag against something so it stays upright. The bubbler should be fully immersed in the cleaning solution. Every hour, shake the bag to help loosen and dislodge any resin or build-up from the glass pipes inside the bubbler.

- Give the bag a final shake
After four to five hours, the cleaning solution should have taken on a brownish tinge from the dissolved resin. Give the bag a final shake to dislodge any stubborn build-up from the pipes.
- Gently clean any still sticky spots
Remove the bubbler from the bag using the tongs or your hands, just beware that any cuts or scrapes will sting like crazy from the alcohol. Use a cotton swab, pipe cleaner, or purpose-built pipe brush to gently clean any remaining sticky spots.
- Thoroughly rinse your bubbler
Give the bubbler an extremely thorough rinse under warm running water to clean off the cleaning solution. Allow the bubbler to fully drain and dry out on a paper towel before using it.
There are many variations on this bubbler cleaning process. Another method is to pour salt and cleaning solution into the bubbler, then block off the openings with silicone cleaning caps or your thumbs. Once the bubbler has the cleaning solution sealed inside, it can be vigorously shaken every hour for several hours, or simply left to soak overnight then rinsed thoroughly the next morning.
Yet another alternative is to leave the bubbler sitting steeped in cleaning solution in a bowl rather than a bag. The drawback to using a bowl is that you cannot shake it vigorously to dislodge build-up.
A word of caution: if your bubbler has a logo printed on it, soaking in alcohol may damage the logo. Check with the manufacturer of your piece for cleaning instructions in this case.
Alternative cleaning solutions
If using an alcohol solvent isn't for you, there are plenty of alternatives that you can find in your kitchen cupboard at home. Lemon juice and boiling tap water can also get the job done, as can vinegar and baking soda (this option will foam so don't seal it in). Equal parts vinegar and hot water can also clean effectively.
Cleaning Bubbler with Vinegar and Hot Water
If you're swapping out the alcohol cleaning solution for these formulations, leave the bubbler sitting in the solution for an additional hour or so. If you opt to use a baking soda and vinegar formulation or vinegar and hot water, follow these precise instructions.
Ingredients
- 2 cups (250 milliliters) tap water
- 2 cups (260-265 milliliters) white or apple cider vinegar
Materials
- Metal tongs with rubber pads
- Small bottle brush
- Small saucepan
- Stove
- Towel
Directions
- Add the water, vinegar, and bubbler to the small saucepan and bring to a boil. Reduce to a simmer or the lowest setting on the stove. Warning: Never place a cold pipe into boiling water. It will crack.
- Let the water simmer for 1 hour or until the water becomes dark amber.
- After 1 hour, gently pick up the bubbler and swish it around in the water to dislodge any plugs. Using a bottle brush, gently scrub the bubbler while plunged in the vinegar water.
- Gently remove the glass and rise under warm running tap water. Place onto a towel to cool and dry completely before use.
Some pot smokers also use bubbler cleaning products that are custom-designed to efficiently clean bongs and bubblers. Just shop around and look for online reviews before buying one.


Bottom line
A well-made bubbler can last a lifetime, but it needs regular maintenance to function at its best. By keeping your bubbler clean, you'll enjoy a smoother, superior smoking experience, and help to ward off unwanted exposure to toxins and bacteria.
Frequently asked questions
How do you clean a bubbler without alcohol?
If you don't want to use alcohol as a cleaning solvent, you can team hot water with lemon juice, or vinegar with baking soda (beware the foaming reaction on this one). For a quick and easy cleaning solution, you can opt for industry-designed cleaning solvents.
How often should I clean my bubbler?
The general rule of thumb is the more you smoke, the more frequently you should clean your bubbler. Carrying out a thorough clean, like the one listed above, once a week or every two weeks should keep your bubbler in tip-top shape.
How do I clean my vape bubbler?
Vaporizers that incorporate a bubbler into their design are known as vape bubblers. These vaporizers are literally built into a glass piece that cools the vapor. Such devices that combine both bubbler and vaporizer often come with their own cleaning tools and instructions.
How do I clean a silicone bubbler?
Silicone bubblers are hardier than glass bubblers and don't require the same level of care when they are being cleaned. In the case of a silicone bubbler, simply take it apart and place it in the dishwasher, if it is safe to do so. You can also use a vinegar solution to clean it out and follow the steps outlined above.